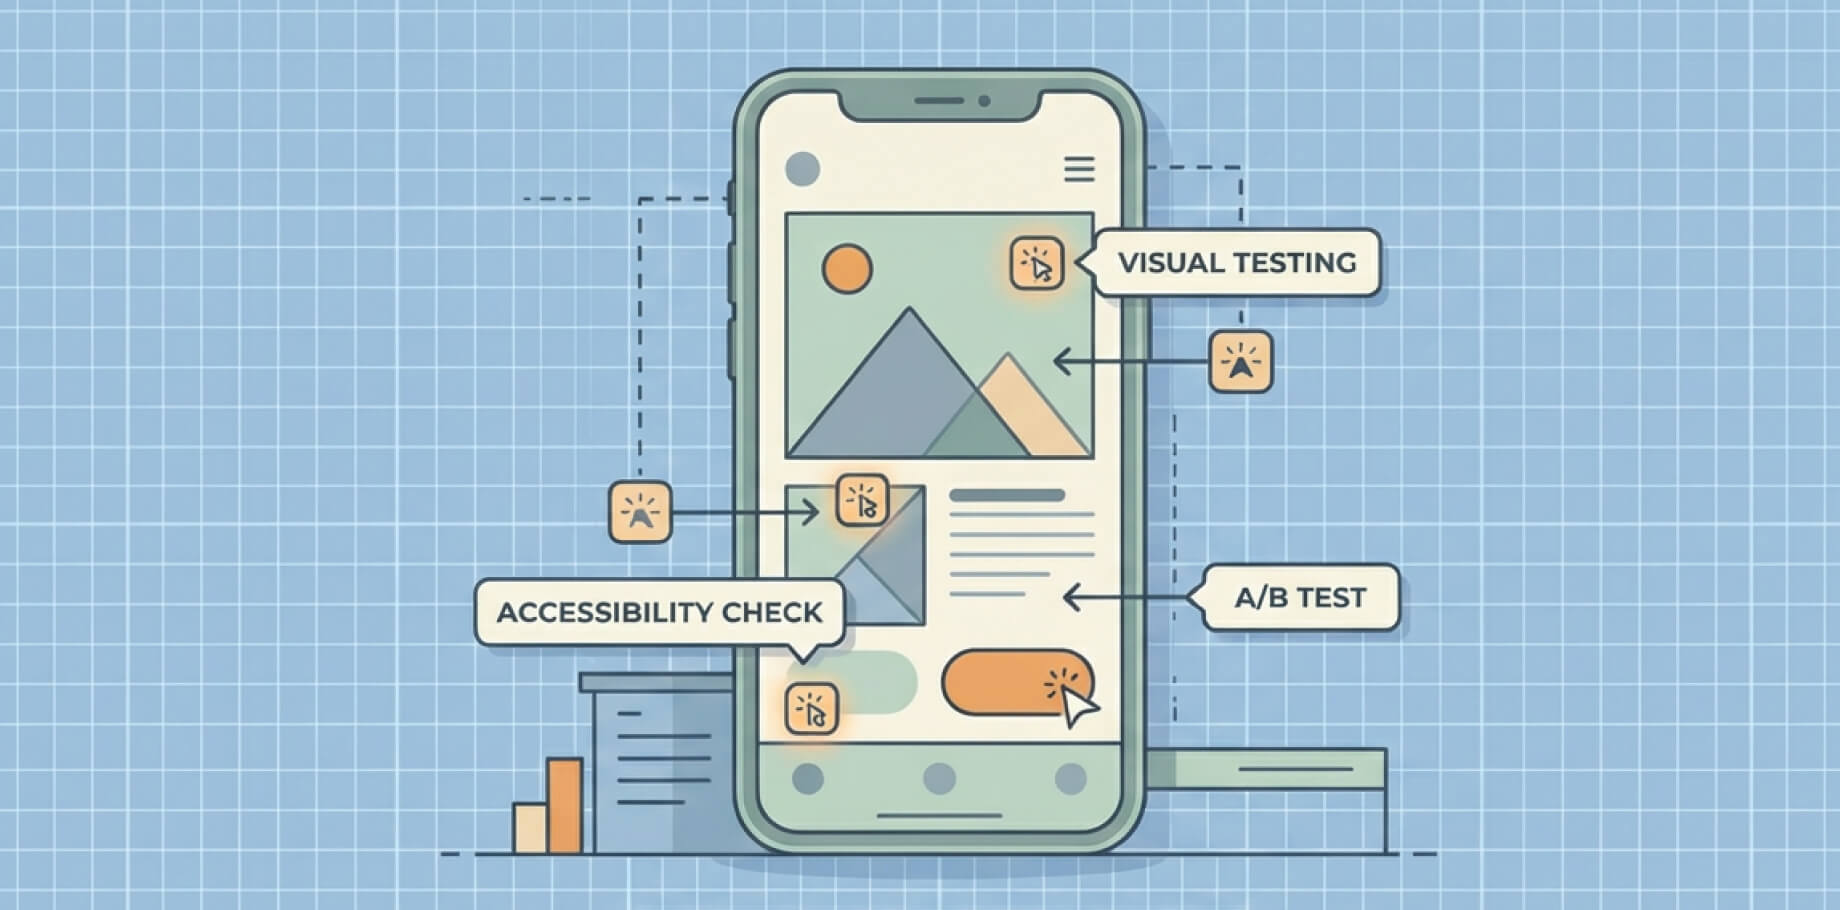
The Importance of Visual Testing
In mobile app development, ensuring the user interface (UI) looks consistent across devices is crucial. However, manually verifying every screen element is time-consuming and prone to error. Visual testing automates this process by capturing screenshots and comparing them pixel by pixel, flagging any UI inconsistencies. This significantly reduces manual effort, improves accuracy, and helps catch visual bugs early in the development cycle.
Visual testing not only saves time but also ensures a polished, professional user experience, preventing embarrassing UI issues from reaching end users. Plus, let’s face it — nobody enjoys hunting down that one pixel that mysteriously moved.
Argos — A Practical Choice for Visual Testing
After evaluating various visual testing tools, Argos emerged as the most practical solution. It stands out for its affordability and ease of integration, especially for mobile test automation with Appium. Unlike some tools that are either too expensive or slow, Argos strikes the perfect balance of speed and simplicity.
Comparison with Other Tools:
WebdriverIO Visual Service (@wdio/visual-service) — Not compatible with WebdriverIO 7+ packages. Requires outdated OpenCV (works with Node v4, while I use Node v18).
Applitools — Uploading screenshots for basic tests (like a login page) took too long.
AyeSpy — Poor performance; not worth using.
Percy — Excellent tool but too expensive for smaller projects.
WDIO Image Comparison Tool — Outdated (wdio-image-comparison-service@5.0.3) and no longer supported.
Why Argos Stood Out:
Cost-Effective — Affordable compared to tools like Percy.
Seamless Integration — Easily integrates with mobile automation frameworks like Appium.
Fast and Efficient — Quick screenshot uploads without lag.
Saving Time with Visual Testing
Manual UI testing across iOS and Android often requires significant effort, even when testing both platforms in parallel. In my project, I was manually testing 10 languages across two devices (Android and iOS). Each language typically took 4–5 hours to test on both devices simultaneously. This process was not only time-consuming but also required significant attention to detail to catch visual inconsistencies.
With the integration of Argos, this workflow has been drastically simplified. Now, instead of manually inspecting every screen, I only need to review flagged changes in the Argos dashboard. If discrepancies are detected in new builds, the affected screenshots automatically appear under the “Changes detected” section. This targeted review process has reduced overall testing time by approximately 75% — what once took 4–5 hours per language now takes 1–1.5 hours.
This streamlined approach accelerates testing, improves overall productivity, and frees up time to focus on more critical testing tasks.
Integrating Argos for Mobile Visual Testing
To get started with Argos, follow these step-by-step instructions for integrating it into your mobile automation framework:
Step 1: Install Argos Dependencies
Install the necessary Argos dependencies by running the following commands in your project directory:
npm install @argos-ci/webdriverio - save-dev
npm install @argos-ci/cli - save-dev
npm i - save-dev @argos-ci/cli @argos-ci/webdriverio
Step 2: Import Your Repository in Argos
Log in to Argos — Go to the Argos Dashboard.
Create a New Project — In the dashboard, click on New Project.
Link Your GitHub Account — Connect your GitHub and import the repository you want to test.
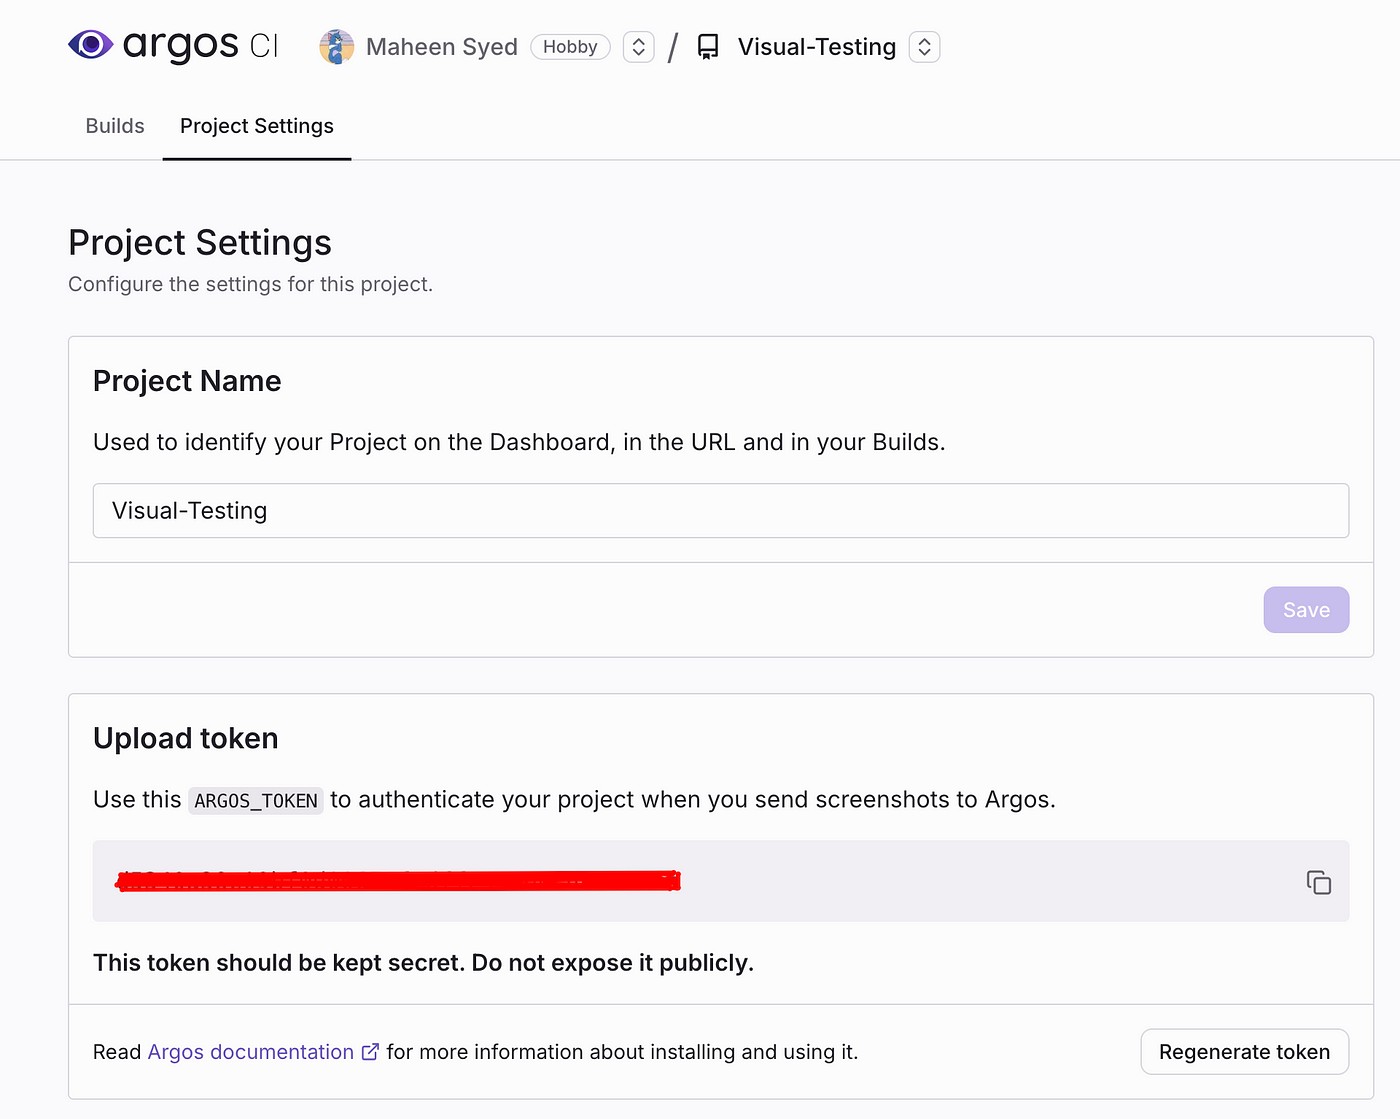
Locate Argos Token — After importing, go to Project Settings. The Argos Token will be displayed under the settings section. Copy this token for later use.
Step 3: Add Argos Token to Project Secrets
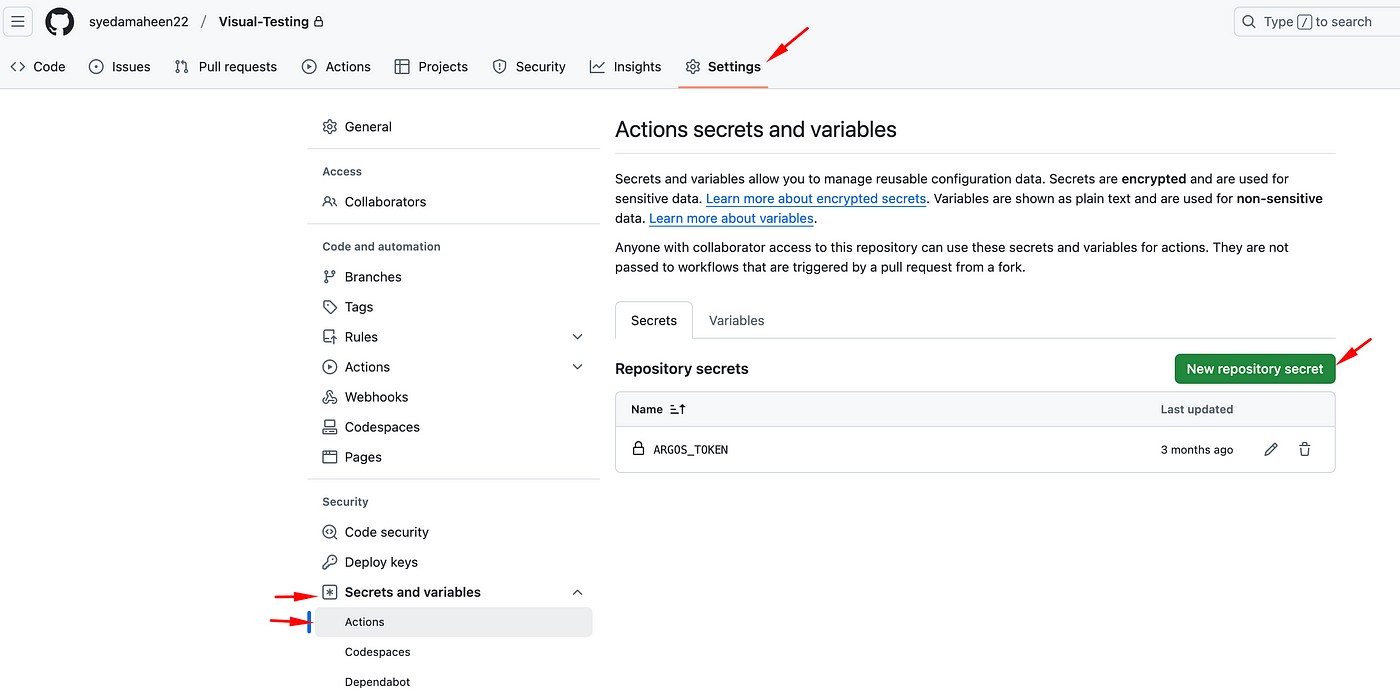
Navigate to GitHub — Go to your project repository.
Open Settings — On the left, click Settings.
Add Repository Secret — Go to Secrets and Variables -> Actions. Click New Repository Secret.
Enter Token — Name the secret ARGOS_TOKEN and paste the copied Argos Token value. Click Add Secret.
Step 4: Create Argos Configuration
Create .argosrc File — In the root directory of your project, create a .argosrc file to store Argos configuration settings.
Add Screenshot Directory — Create a screenshots folder where Argos will store captured screenshots for comparison.
Step 5: Export Argos Token
Store the Argos Token in your terminal environment by running:
export ARGOS_TOKEN="your-token-here"
Step 6: Verify Token
Ensure the token is stored correctly:
echo $ARGOS_TOKEN
Step 7: Adding Screenshot Helper Function
To enhance your visual testing workflow, you can configure WebdriverIO to capture screenshots automatically after each step in your tests. This can be done by modifying the wdio.conf.ts file.
After Step Integration:
In the afterStep hook, a screenshot helper function captures and saves a screenshot after each test step. The filename is generated dynamically using:
Step Name (formatted and cleaned)
Scenario Name
Timestamp
The screenshot is saved in the ./screenshots directory with a structured naming convention, ensuring easy identification and sorting. This setup ensures that every step is documented visually, making it easier to detect and debug issues.
afterStep: async function () {
   const timestamp = new Date().toISOString().replace(/[-:.]/g, '_');
   const screenshotPath = `./screenshots/screenshot-${timestamp}.png`;
   // Capture and save screenshot
   await browser.saveScreenshot(screenshotPath);
   await cucumberJson.attach(await browser.takeScreenshot(), 'image/png');
   console.log(`Screenshot saved at: ${screenshotPath}`);
}
Step 8: Upload Screenshots
Upload screenshots to Argos using one of these commands:
npm exec - argos upload - token <ARGOS_TOKEN> screenshots
or
npx argos upload ./screenshots
Conclusion
Skipping visual testing is like proofreading an essay but ignoring the formatting — sure, the content works, but it might still look like a disaster. Visual bugs can slip by unnoticed, especially in complex UIs. Visual testing catches these issues before users do, ensuring a sleek, professional app.
Whether you use Argos or another platform, visual testing saves time, enhances UI consistency, and lets you focus on the fun parts of development — without sweating the small stuff.
I hope you find this blog helpful!! 🙂